Cleansing your crystals or gemstones as soon as you buy them and certainly after you’ve used them is important. I didn’t realize this at first, and would quite often try to use store-bought crystals straight away.
The reason why you need to cleanse a crystal is that they get clogged up, for want of a better term, with negative energy which affects their energy levels and vibration. A clogged crystal just doesn’t work as well, so in this article, I’m going to talk about several different ways you can cleanse your crystals from the comfort of your own home.
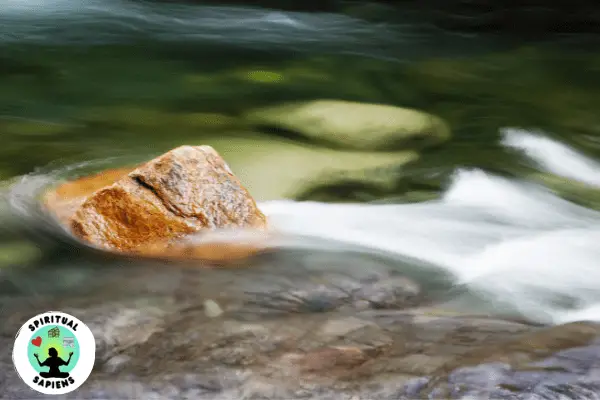
1. Cleansing crystals & gemstones with Running water
Approximate duration: 1 minute per stone
Use this for: hard stones (6 or higher on the Mohs scale), such as quartz
Don’t use this for: stones that are brittle or soft, such as selenite, kyanite, and halite
It’s easy to cleanse the energy from your stones by submerging them in a bowl of water for a minute or two. Running some natural fluid over the stone is even better, but it needs to be a fresh masa — if you have a stream on hand, it’s best.
Whatever your water source, make sure that all parts of the crystal are submerged and pat dry when complete. If your stones are porous or sensitive to moisture this can lead to cracking and breakage. In these cases, avoid exposure near sinks or excessive exposure will dishwasher detergent which can also cause problems with soft stones like selenite and kyanite.
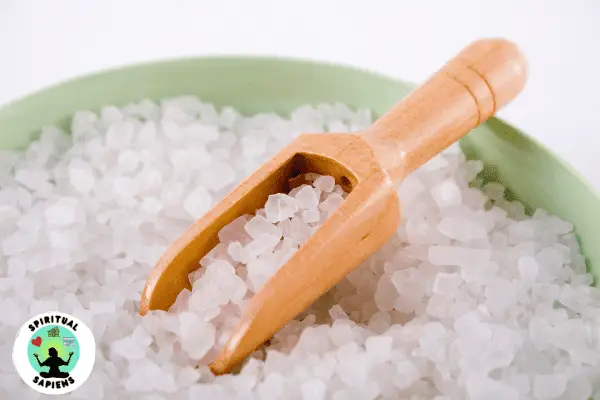
2. Cleansing crystals & gemstones with salt water
Approximate duration: up to 48 hours
Use this for hard stones (6 or higher on the Mohs scale), such as quartz and amethyst
Don’t use this for stones that are soft, porous, or contain trace metals, such as malachite, selenite, halite, calcite, lepidolite, and Angelite
Before you begin, make sure the stone is completely submerged in a container of saltwater – fresh from the sea if you can find it (ideally from a non-polluted area). You can also add some rock or table salt if a natural source is not available.
Soak the stone in the bowl of salty water for up to 48 hours, and then rinse with fresh water before patting dry with a lint-free towel when complete!
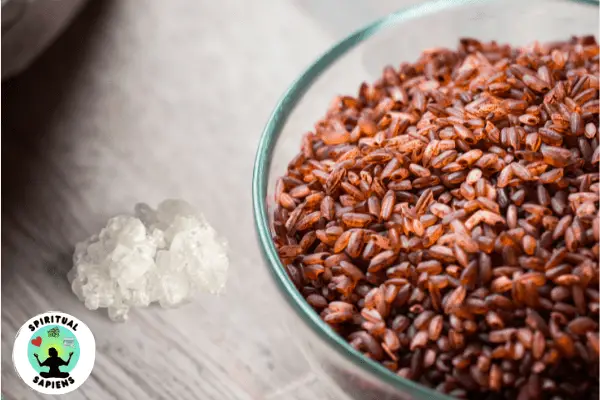
3. Cleansing crystals & gemstones with brown rice
Approximate duration: 24 hours
Use this for any stone
In general, crystals are used to absorb energy and it’s important to be aware of the type of energy your crystal is picking up. Some stones can be influenced with negative intent and this makes them less than positive elements in your life.
What You’ll Need:
-A bowl big enough for your crystal and dry brown rice (you will want the bowl to be big enough that your stone can be completely buried under the rice)
-Your crystal
Fill the bowl with dry brown rice and bury your stone beneath the grains for at least a day. Dispose of the rice immediately after the cleansing, as it has absorbed the energy you’re trying to eradicate.
This method is especially beneficial for protective stones, as they seem to perform better after this ritual. If you have a very sensitive stone, leave it until the next day so that no more negative energy can be absorbed.
Examine your stone and see if there is any noticeable difference in color or quality from before its cleansing ritual. If you notice a difference, your stone is now safe to use again in either a personal or professional setting.

Reserve your personal call with your personal psychic today and discover more about your path and where it could lead you.
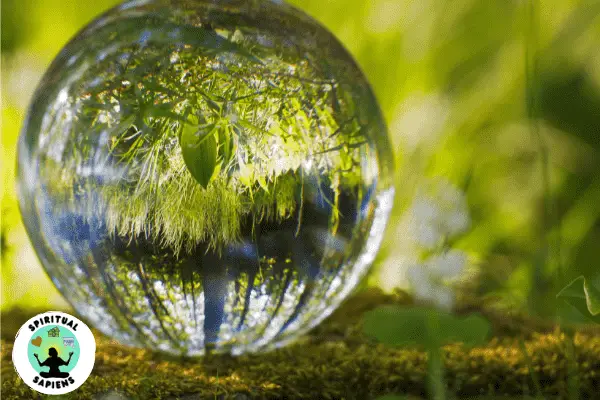
4. Cleansing crystals & gemstones with natural light
Approximate duration: 10 to 12 hours
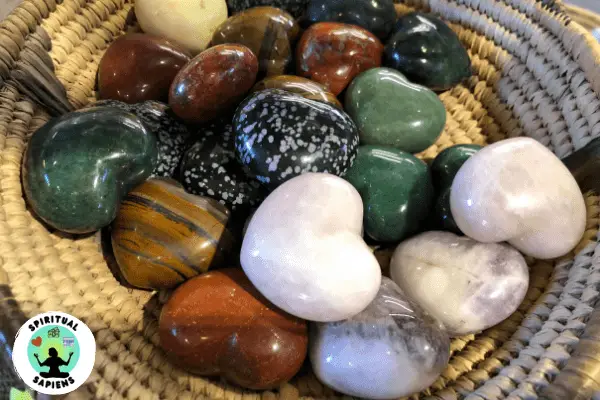
Use this for most tumbled stones
Don’t use this for vibrant stones, such as amethyst, in sunlight; soft stones, such as celestite, halite, and selenite, that may be damaged by inclement weather
Natural light is a powerful source of energy and an excellent tool for cleansing stones. Fresh air is also good for crystals so do this outside the house if possible.
Set your stone out on a windowsill, porch, or in a place where it can be exposed to direct sun and moonlight. If it’s possible to bathe in the light of both the moon and sun, you’ll get a much better-balanced stone back. Ensure they are left undisturbed by wildlife or passersby wherever you do choose to perform this ritual.
Just make sure you retrieve your stones before the midday sun hits them as this can damage certain crystals or gemstones. I normally collect mine no later than 3 to 4 hours after dawn depending on the time of year.
Afterward, give them a quick rinse with water if it hasn’t rained recently – just enough to remove any dirt or debris that might have collected during their time outdoors- then pat dry. When finished, place them back in a proper holder to prevent any damage from occurring that may terminate its magical properties.
5. Cleansing crystals & gemstones with sage

Approximate duration: about 30 to 60 seconds per stone
Use this for any stone
Sage is a sacred plant with a multitude of healing properties. Smudging your stone (burning sacred stones) is said to clear inharmonious vibrations and restore its natural energy. Sage contains large amounts of potassium nitrate which creates heat when burned, allowing the negative charges associated with darkness to be grounded out through the smoke it releases, thus restoring balance to the stone.
If it’s your first foray into smudging, I recommend you visit your local new age store where they will be able to help you with a done-for-you DIY smudging kit. You can also find these online, such as this great started kit sold on Amazon.
If you’re unable to smudge outdoors, make sure you’re near an open window. This will allow the smoke and negative energy to disperse.
When you’re ready, ignite the tip of the sage with a lighter or matches. Transfer the sage to your non-dominant hand and firmly grasp your stone and move it through the smoke.
Allow the smoke to envelop the stone for about 30 seconds. If it’s been a while since your last cleansing — or you feel the stone is holding onto a lot — consider smudging for an additional 30 seconds.
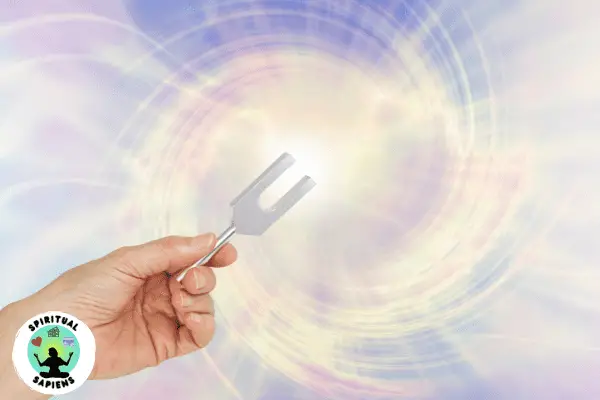
6. Cleansing crystals & gemstones with sound
Approximate duration: 5 to 10 minutes
Use this for: any stone
The reason why crystals and gemstones are so essential for our well-being is down to the fact they vibrate at particular frequencies. If you remember your eight grade science class, you probably remember sound waves also travel on special frequencies> This is why sound is a great but often overlooked method of cleansing stones.
Singing bowls, a tuning fork or even a nice bell. It doesn’t matter what key the sound is, so long as the sound emitted is loud enough for the vibration to fully encompass the stone.
The vibrations will cause stones to “cleanse” themselves and vibrate at their natural frequency.
This method is ideal for collectors who have a large volume of crystals not easily inventoried or moved; they might not need this sort of meticulous upkeep on every single crystal for it to stay clean, so if done properly by placing them all around you in your space with some sort of sonic device playing ten minutes worth of therapeutic sounds per day, they will stay uncluttered and beautifully scintillating!”
7. Cleansing crystals & gemstones using a larger stone
Approximate duration: 24 hours
Use this for: any stone
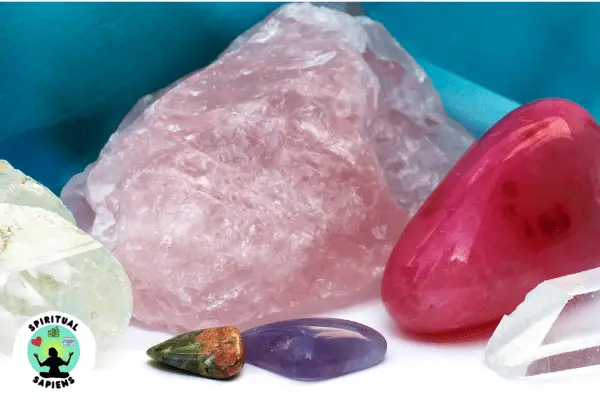
If you have some larger crystals of gemstones in your collection, especially big quartz clusters, an amethyst geodes, and slabs of selenite, you can use them to cleanse the rest of your collection.
Once it’s been cleansed and energized itself, place this large stone directly inside or on top of a container with the negatively charged stones. It’s thought that the larger stone’s vibrations remove the inharmonious energies found in the resting stone. This is why it’s important to first re-balance your cleansing stone. Leave your stones in this position for at least 24 hours or until you need them next.
8. Cleansing crystals & gemstones using smaller stones
Approximate duration: 24 hours
Use this for any stone
Just as some large crystals or gemstones can help you cleanse others in your collection, there is a lot of power in some smaller stones too. Carnelian, clear quartz and hematite are all said to have an overall clearing effect and can be used in this role.
Although very useful, these stones may not be enough on their own to influence several negatively charged stones. So, always work with at least two of these clearing stones and as many as you can get your hands on.
Ideally, you want to have a nice base layer of the clearing stones (Carnelian, clear quartz, and hematite) to be the most effective. Place the clearing stones into a small bowl, and set the crystal you want to be restored on top and leave it for a day for best results.

Get an accurate astrology reading based on your unique birth details today!
9. Cleansing crystals & gemstones with your breath

Approximate duration: about 30 seconds per stone
Use this for small stones
Crystals and gemstones are affected by everything we are, which means we can physically affect our own stones. By meditating and bringing yourself into a centered and peaceful state, you can pass on this energy to your stones. This is a great way to cleanse them and remove any negative energy they may have absorbed.
Bring the stone close to your nose and exhale strong bursts of breath on it while focusing on feeling positive. Try to keep your breath at the same relative strength and length for each stone you work with during this process.
10. Cleansing crystals & gemstones with visualization
Approximate duration: about 1 minute per stone
Use this for any stone
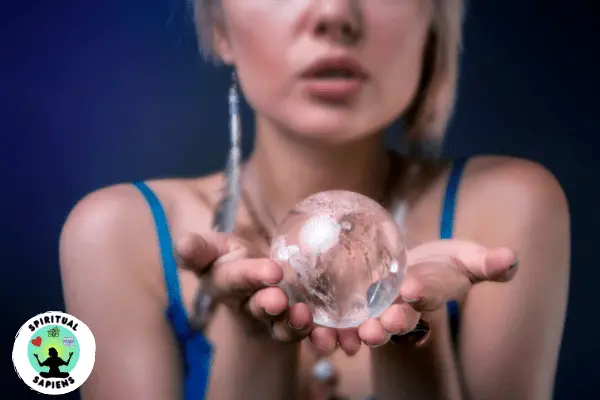
By far the most effective way to cleanse any type of crystal or stone is through visualization. Honestly, it’s not for the beginner enthusiast and it’s even something that I avoid myself because I’m not as confident with it as with other methods on this list.
Just like with the previous technique, we are trying to change the frequency that the crystal vibrates at using our own body. When using the visualization technique, you are using your mind more than your physical body.
Take a few minutes to ground and center your energy, then pick up your stone and visualize your hands filling with white, radiant light. Envision the impurities flushing out of the stone, allowing the stone to shine brighter with renewed purpose. Continue this visualization until you feel a shift in the stone’s energy.
As I said, this takes quite a bit of trial and error and you will get better the more you try. I’d also recommend that you try this on days when you are feeling more content and there is less stress in your life.

Charlie Hawes has developed a fascination for the spiritual and metaphysical world around us. He enjoys researching and sharing ideas about how to better understand ourselves and the worlds we live in. Read more